
Home / Display & HMI Assembly
05 / DISPLAY & HMI ASSEMBLY
Display Assembly & HMI Integration
We bring the display, touch interface, electronics and metal structure together around your approved product layout.
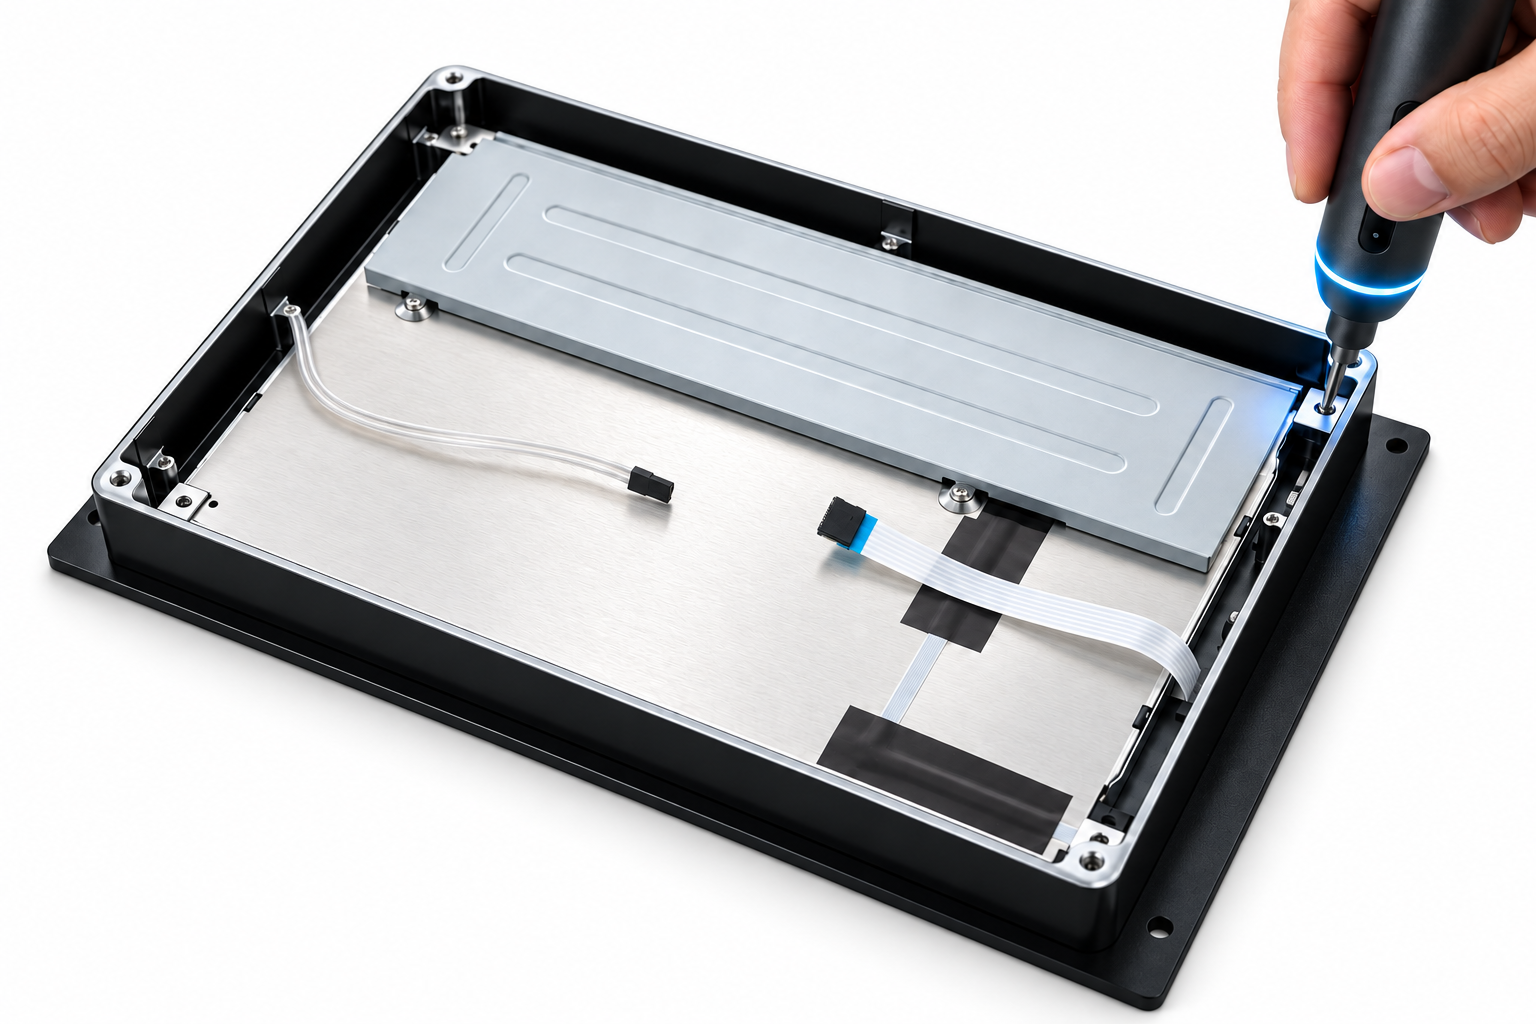
Assembly illustration based on our supplied workshop imagery.
01 / PREPARED COMPONENTS
Confirm the parts and required checks.
02 / ASSEMBLY
Install, connect and secure the components.
03 / INTEGRATED HMI
Review the assembly and move into testing.
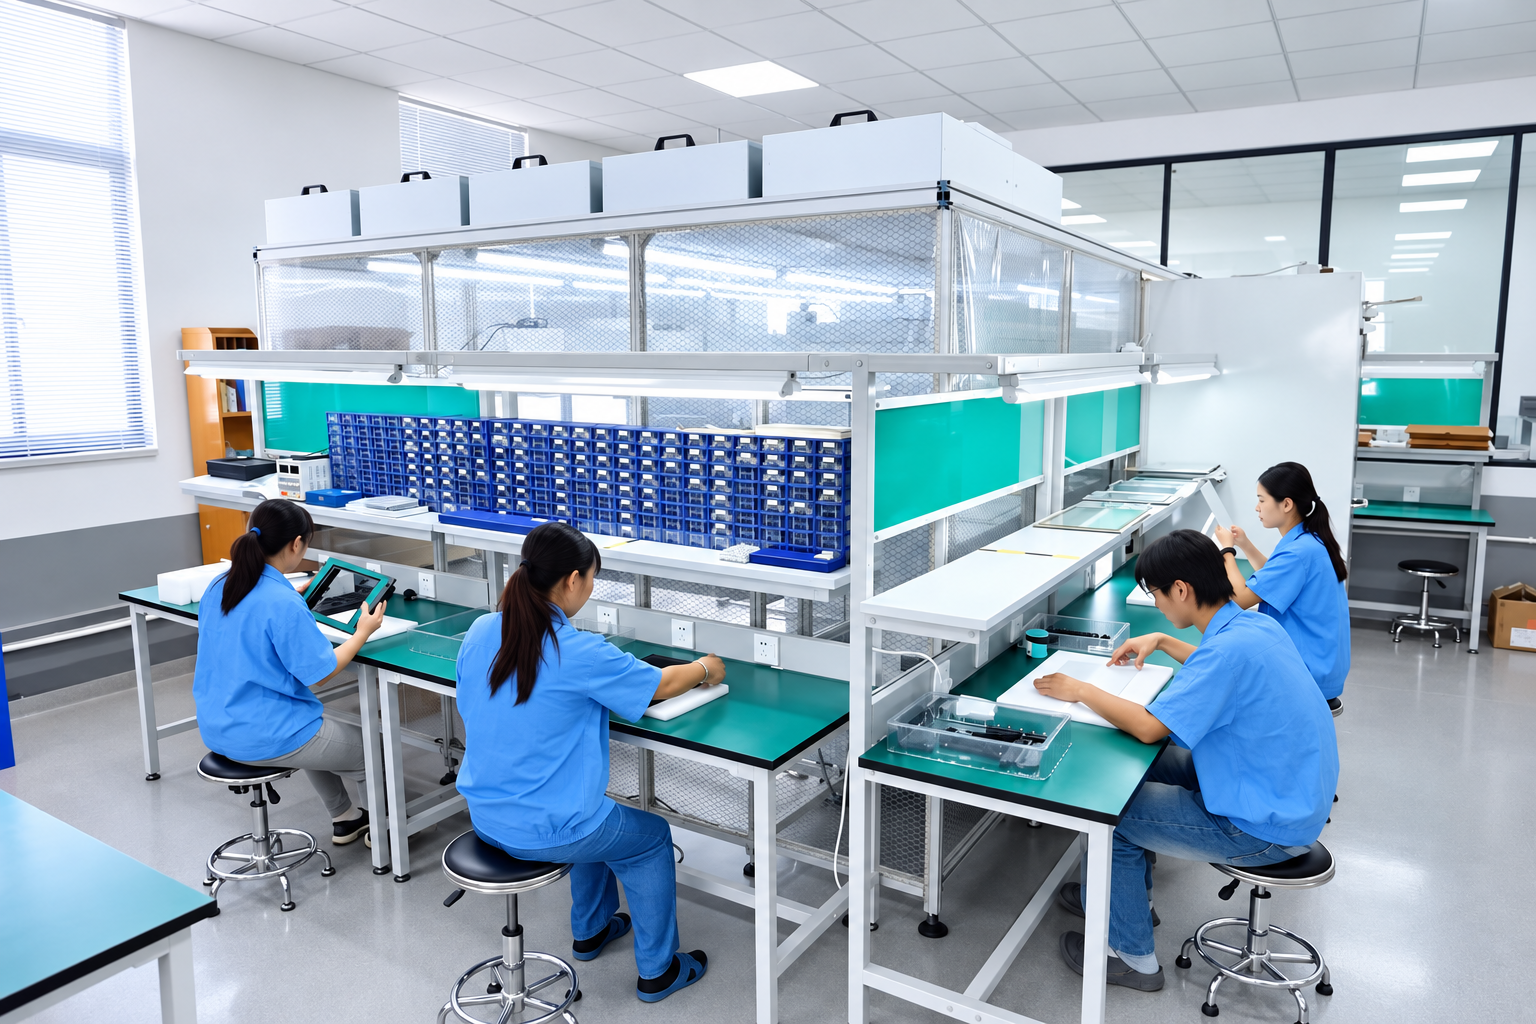
Prepare the parts around one product layout.
The approved layout defines which display, touch assembly, controller, boards and enclosure parts belong together. Parts are prepared for the assembly sequence.
- Confirm the component models and drawing revision
- Review the condition of the supplied parts
- Arrange the required fixing and connection parts
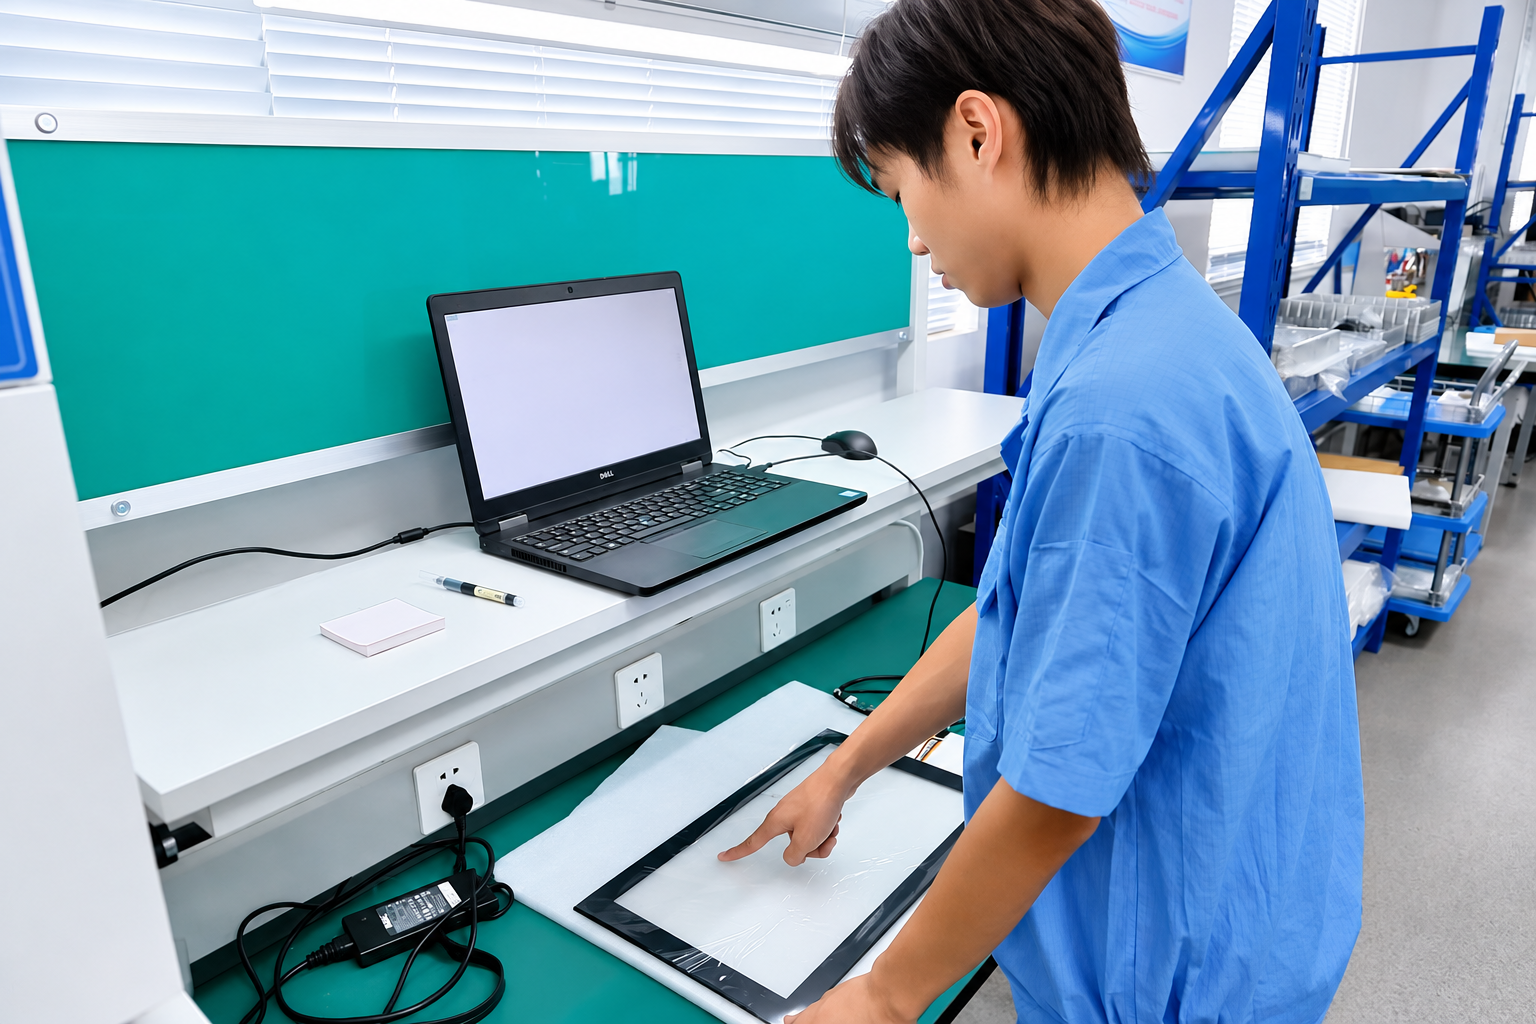
Check touch function before integration.
The technician checks the touch panel (TP) using the connected test setup before it is installed. This provides an opportunity to identify touch-related issues while the panel is still accessible.
- Connect the panel to the applicable test setup
- Check touch response using the agreed procedure
- Resolve findings before installation
The photo shows a pre-assembly touch check. It does not show final testing of a complete HMI.
Bring the components together, step by step.
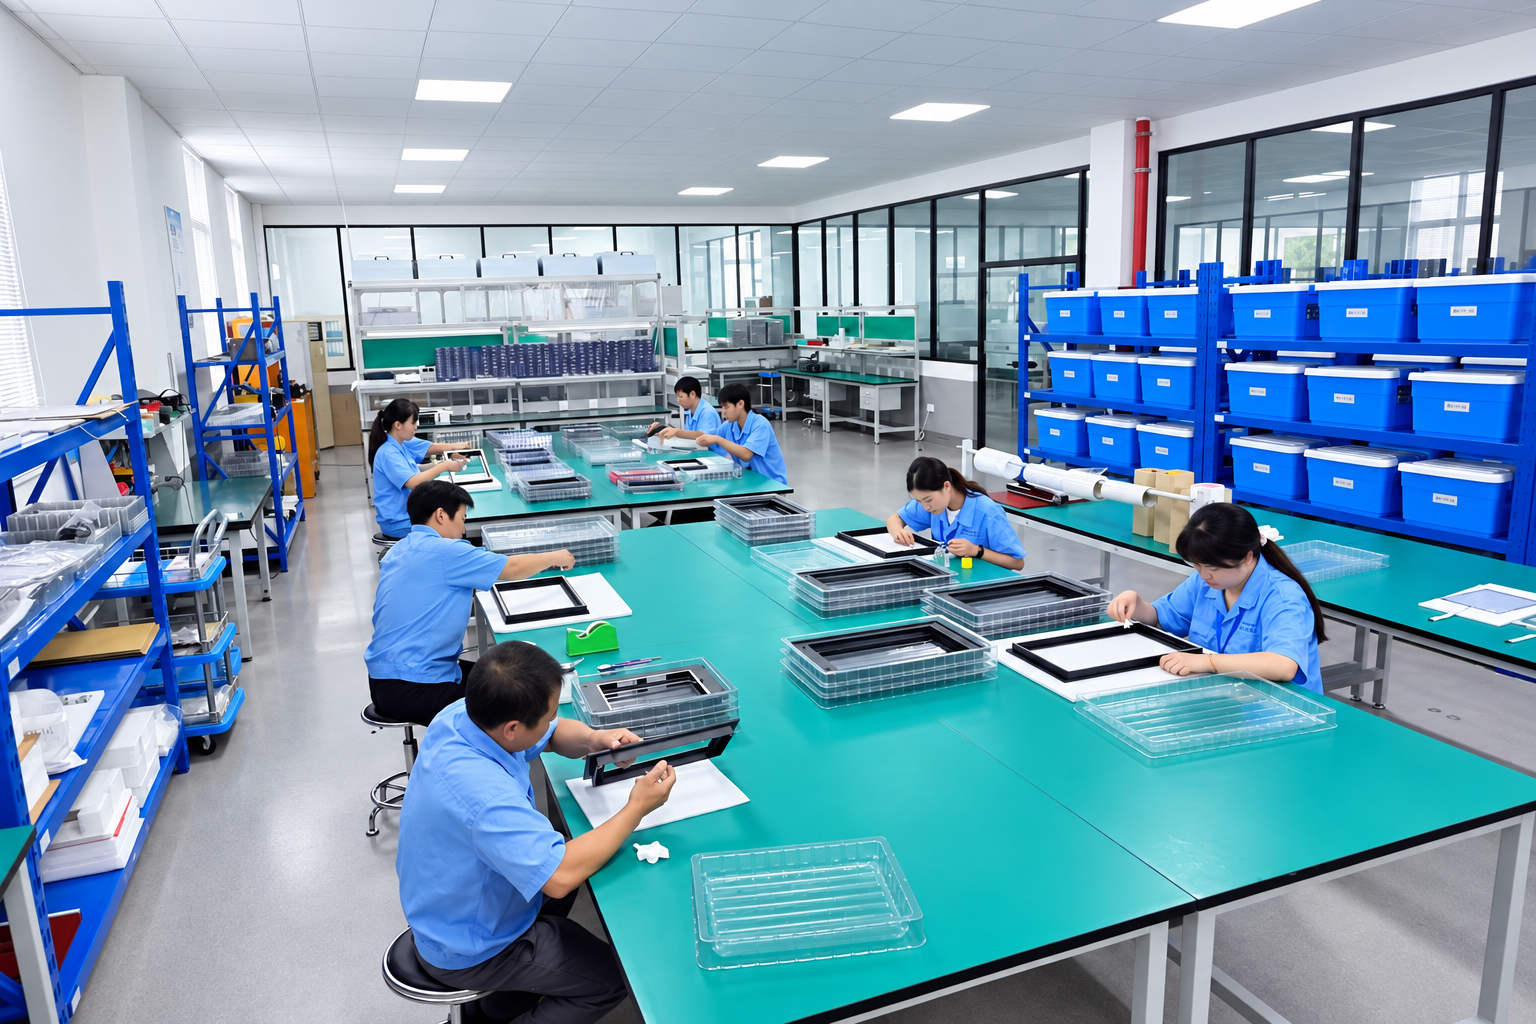
The assembly sequence follows the product design. The workshop photo shows component handling and assembly activity; individual installation steps vary with the configuration.
The parts of a complete HMI
Bonded Display + Metal Frame + PCBA + Cable & Connector + Rear Enclosure
↓ Complete HMI Assembly
The exact component set follows the approved product configuration.
01 / Install the display and front interface
Locate the bonded display and front cover or overlay in the specified frame. Check alignment, support and the visible viewing area.
02 / Fit the controller and PCBA
Mount the touch controller and circuit boards at the defined fixing points, maintaining the required component clearances.
03 / Route FPCs, cables and connectors
Connect the specified interfaces and arrange the cable paths to avoid trapping or straining the connections during enclosure closure.
04 / Complete the enclosure
Install any specified sealing parts, close the metal enclosure and secure the fasteners according to the assembly requirements.
An integrated assembly, ready for the agreed tests.
Review the assembled product before the testing and delivery stage. Any required functional configuration is defined for the project.
Fit & appearance
- Display alignment and visible surfaces
- Enclosure fit and fixing points
- Cable clearance at enclosure closure
Connections & configuration
- Specified cable and connector installation
- Controller and board configuration, where required
- Readiness for the agreed functional tests
Final display, touch, interface and any specified environmental tests belong to the Testing & Delivery stage. Assembly completion alone is not shipment approval.
Let’s define your complete HMI assembly.
Share your layout, component list, installation requirements and testing scope. Review an industrial automation HMI application to see how installation requirements shape the assembly.